Installer Git sous Windows 11
⓵ Télécharger
Pour installer Git sous Windows, il faut commencer par télécharger l’application officielle : Git sous Windows 11.
⓶ L’installateur
Double-cliquez sur l’installateur que nous venons de télécharger.

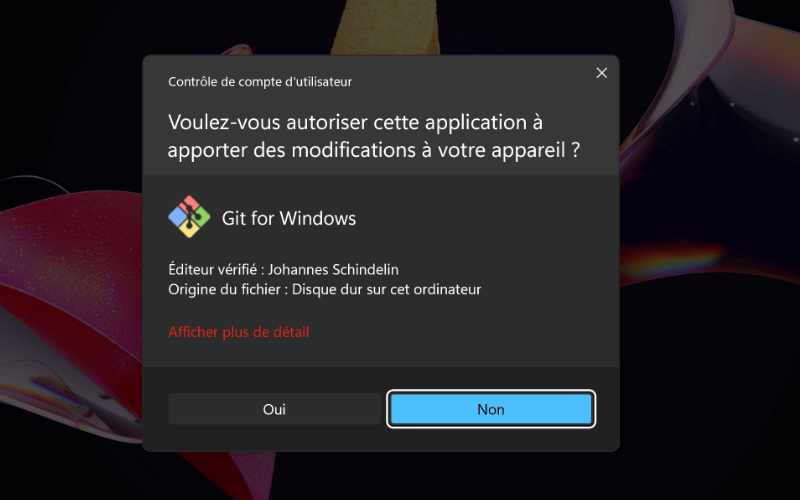
On vous demandera d’autoriser Git à apporter des modifications. Cliquer sur « Oui ».
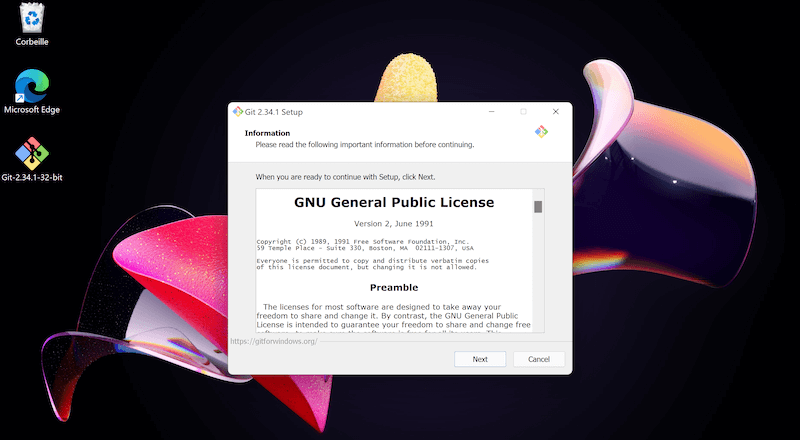
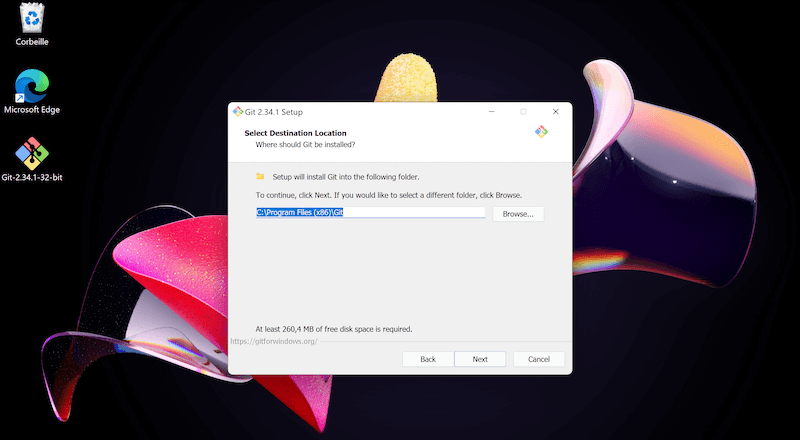
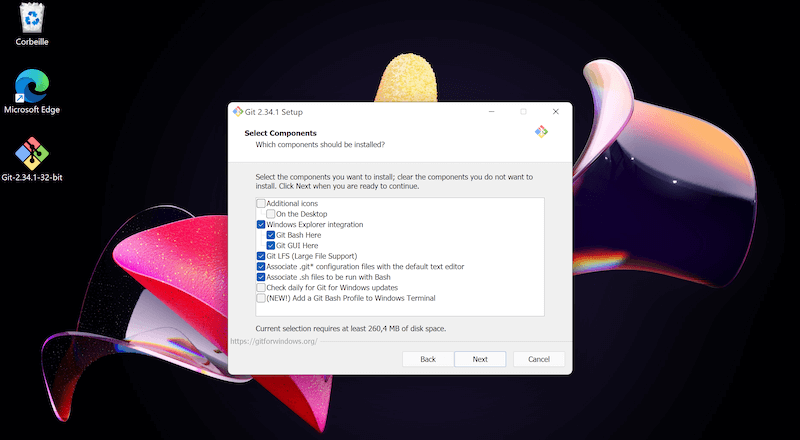
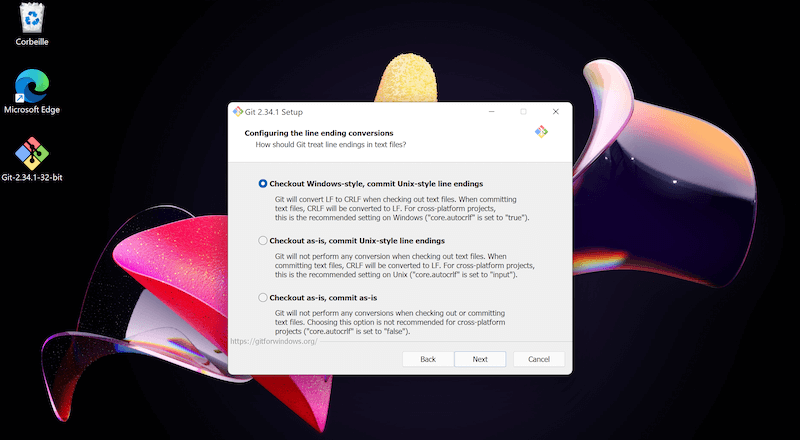
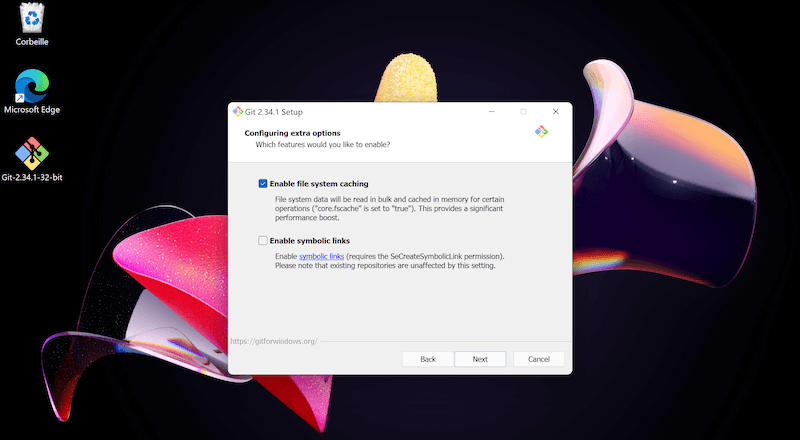
⓷ Installer Git
Ensuite, le mieux est de laisser la configuration par défaut et appuyez systématiquement sur « next ».


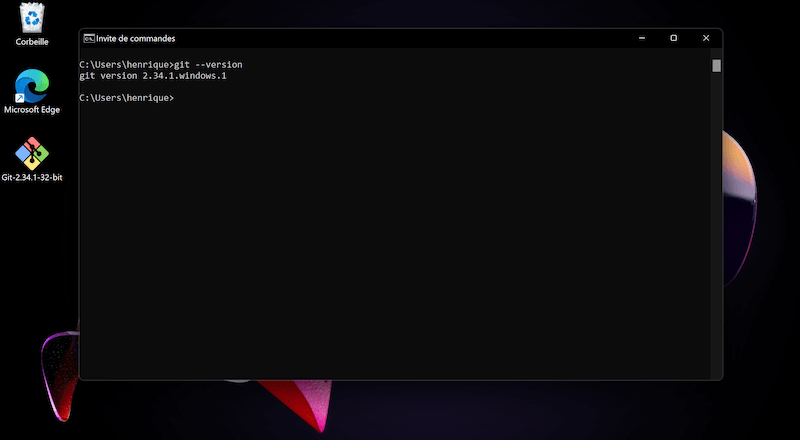
⓸ Vérifier l’installation de Git
Il ne reste plus qu’à vérifier l’installation de Git grâce à la commande qui suit.
git --version
Si le numéro de la version apparaît, c’est que Git a bien été installé dans Windows 11.